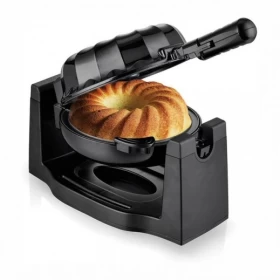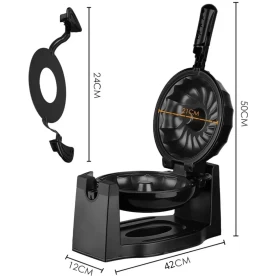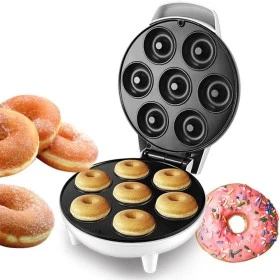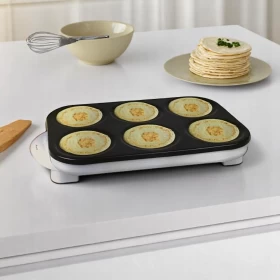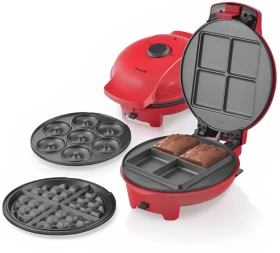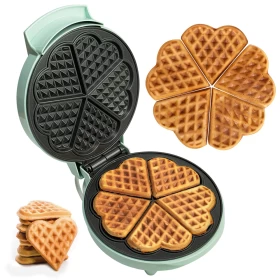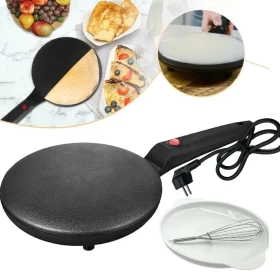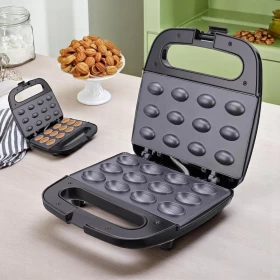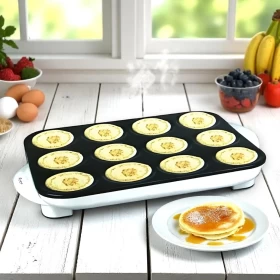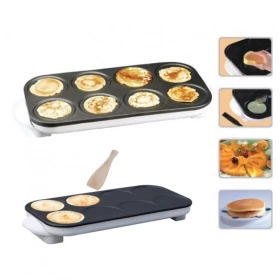

Enjoy fresh cake anytime you desire it without the hassle of using so many pans or even turning on the oven. Comes with non-stick coating for easy cleanup. Taking half the time to cook and leaving more time to enjoy other things to do, the Cake Maker makes every day cooking entertaining and easy
✨ Features & Benefits:
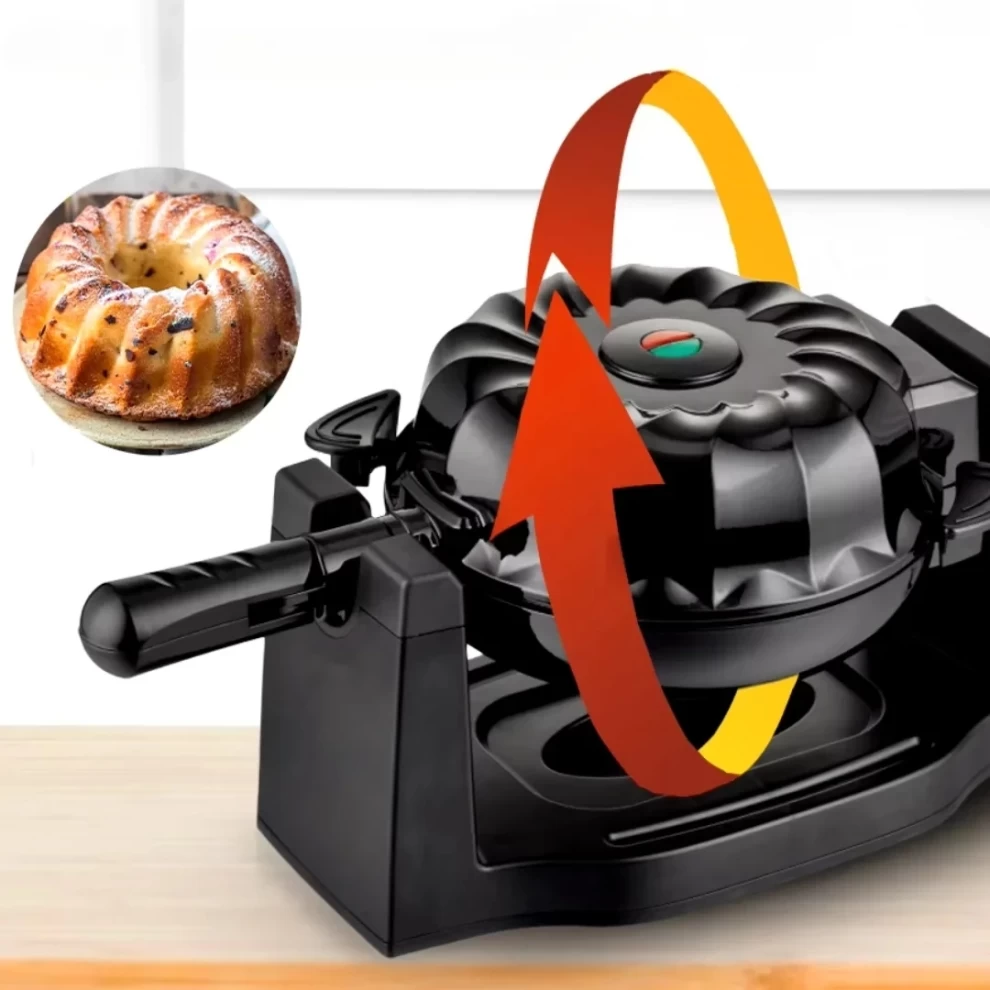
📌 Step-by-Step Usage Guide:
1️⃣ Prepare the Cake Batter
• Mix your cake ingredients according to your recipe.
• Ensure the batter is smooth and evenly mixed for the best results.
2️⃣ Preheat the Cake Maker
• Plug in the device and turn it on.
• The power indicator light will turn on.
• Wait for the ready light to indicate that it’s preheated and ready for use.
3️⃣ Apply a Light Grease (Optional)
• Although the plates are non-stick, you can apply a thin layer of butter or oil for extra ease of cake removal.
4️⃣ Pour the Batter
• Pour the batter evenly into the lower plate.
• Do not overfill to avoid spillage when closing the lid.
5️⃣ Close the Lid & Cook
• Gently close the lid and lock it in place.
• Allow the cake to cook according to your recipe’s timing (usually 5–10 minutes).
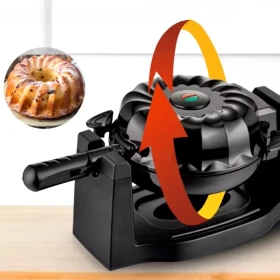
• Use the rotary feature to evenly spread the batter for perfect consistency.
6️⃣ Check for Doneness
• Once the indicator light turns off, check the cake by inserting a toothpick.
• If it comes out clean, the cake is ready.
• If batter sticks to the toothpick, close the lid and cook for an additional 1-2 minutes.
7️⃣ Remove the Cake Carefully
• Use a wooden or silicone spatula to lift the cake gently (avoid metal utensils to protect the non-stick surface).
8️⃣ Cool & Serve
• Let the cake cool for a few minutes before serving.
• Enjoy fresh, homemade cake without the oven hassle!
9️⃣ Cleaning & Storage
• Unplug the device and let it cool completely before cleaning.
• Wipe the plates with a damp cloth or sponge (do not submerge in water).
• Store vertically to save space.
180 Days warranty
One hundred Eighty (180) days limited warranty included in this product